How to Clean a Chastity Cage: Daily & Weekly Hygiene Guide
How do you clean a chastity cage properly?
Daily: shower with fragrance-free liquid soap, rinse thoroughly, then dry completely — including low-heat hairdryer for 30 seconds. Weekly: full removal, 10-minute soak in warm soapy water, then disinfect based on material (70% IPA for steel/resin; warm water only for plastic/polycarbonate). Drying is the most important and most skipped step — trapped moisture is the primary cause of odor and infection problems.
Daily Cleaning: The Shower Routine
If you're wearing the cage for more than a few hours, a daily cleaning routine is essential. The steps themselves are quick — what actually derails most wearers is skipping the drying phase, which takes under five minutes but does most of the work.
Think of your shower as a three-phase process: rinse, soap, rinse again, then — critically — dry. Most people get the first three right and completely botch the fourth.
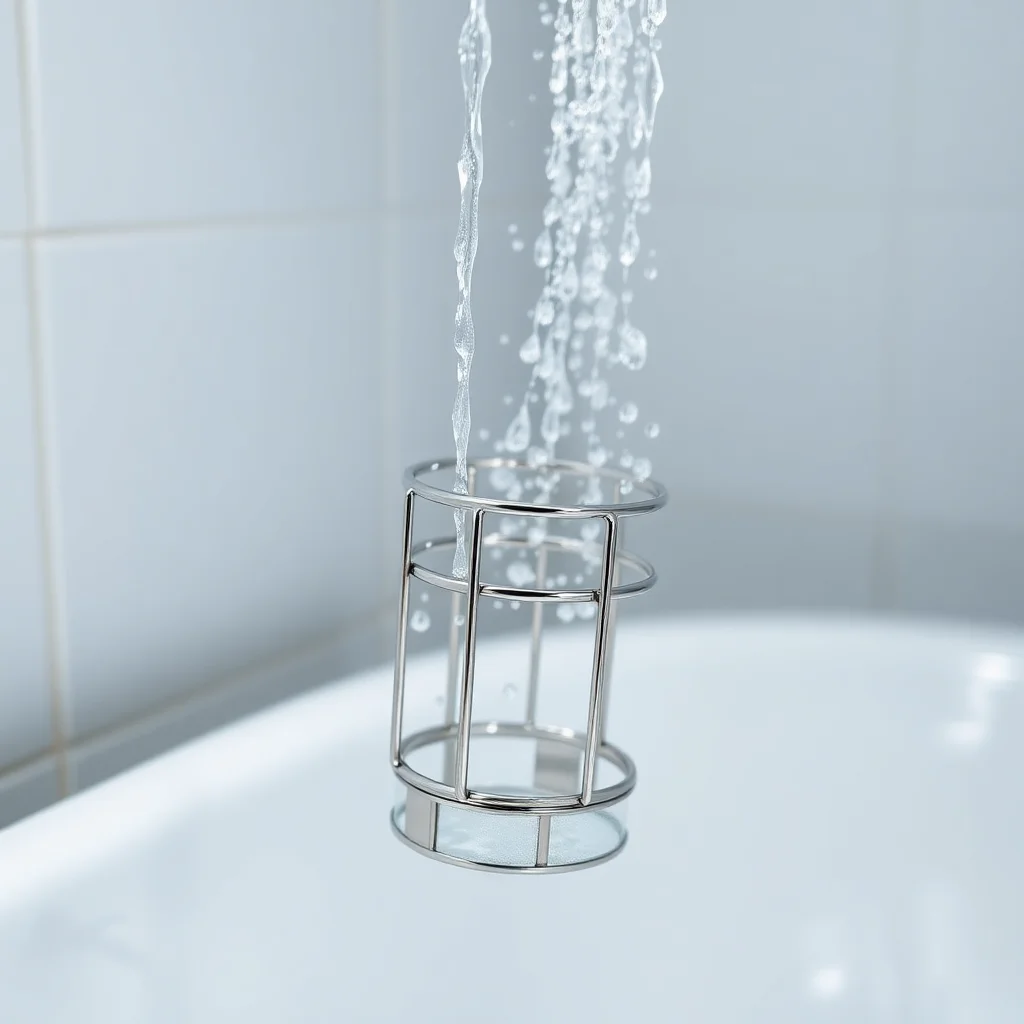
Step 1: Flush with warm water (60 seconds)
Before applying any soap, direct a stream of warm (not hot) water through every opening in the cage for a full minute. Angle the showerhead or cup water and pour it through the tip opening, the ventilation slots, and under the base ring.
This pre-rinse dislodges loose debris, diluted urine residue, and sweat that has accumulated since your last wash. Skipping it means you are soaping over a layer of contaminants rather than washing them away.
Step 2: Apply fragrance-free liquid soap
Work a small amount of mild liquid soap through the cage openings using your fingers. Reach the glans area through the tip slot and the base ring contact zone — these two spots accumulate the most bacteria. Use a cotton swab or soft-bristle toothbrush for bar-style cages with narrow slots that fingers cannot reach.
The soap choice matters more than most guides acknowledge. See the Products section below for specifics, but the short version: fragrance-free, pH-balanced, no antibacterial agents, no moisturizers.
Step 3: Rinse completely (45 seconds)
Soap residue left against skin causes irritation that looks identical to a bacterial infection in its early stages. Rinse until there are zero suds coming from the cage. Tilt the cage away from the body and let water flush through every vent and opening. Thorough rinsing takes longer than most people think — 45 seconds minimum.
Step 4: Post-urination maintenance
Between showers, every urination session deposits urine residue inside the cage. Urine is sterile when fresh but degrades rapidly to ammonia, which is both a skin irritant and a bacterial nutrient.
After each urination, pat the cage tip dry with toilet paper or a small towel. Reach inside the tip opening and gently blot moisture. This 20-second step eliminates the primary driver of cage odor between showers.
Weekly Deep Clean: Full Removal Protocol
No matter how diligent your daily shower routine is, biological buildup accumulates in areas that cannot be reached while the cage is on. Smegma, mineral deposits from hard water, and bacterial biofilm concentrate in corners and at seams. A weekly full removal and deep clean addresses all of it.
For 24/7 wearers — those who rarely remove the cage — increase this to every three to four days. The longer the continuous wear period, the faster buildup occurs.
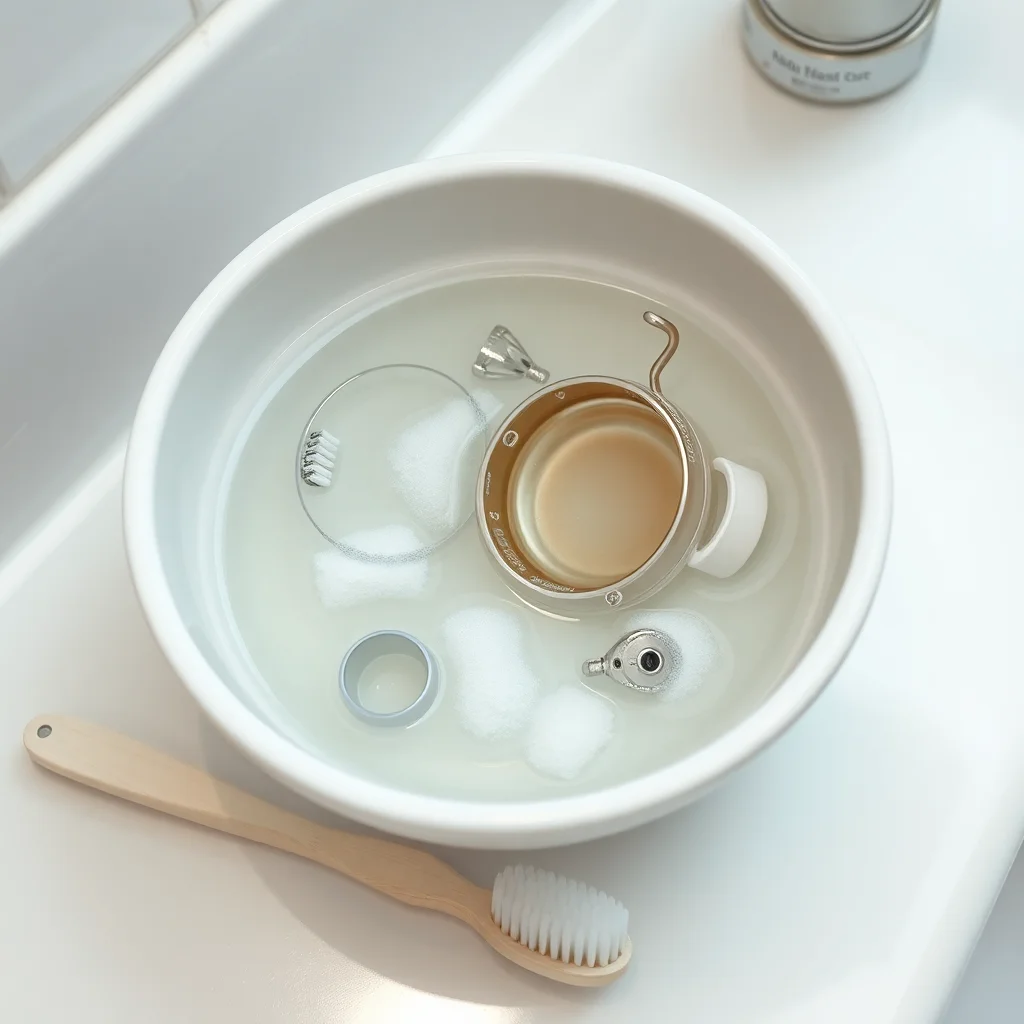
The 10-minute soak
Fill a bowl with warm (not boiling) water and add several drops of mild dish soap or body wash. Submerge all cage components — cage, ring, pins, and spacers — and let them soak for 10 minutes. The warm water softens dried deposits; the soap emulsifies oils.
After soaking, use a soft toothbrush to scrub all surfaces: inside the cage tube, around the ring interior, and at the lock pin holes. These are the places daily shower cleaning cannot reach, and this is where biofilm accumulates fastest.
Disinfection step (material-specific)
After soaping and rinsing, disinfect based on your cage material. See the By Material section for full details. For stainless steel, 70% isopropyl alcohol on a cotton pad wiped across all surfaces takes 30 seconds and kills the bacteria and fungi that cause infection. For plastic cages, skip the alcohol — it degrades the material — and rely on the hot soapy soak instead.
Visual skin inspection during removal
Weekly removal is also your primary opportunity to inspect skin that is otherwise hidden. Check systematically:
- Base ring contact line: Look for persistent red marks, raw patches, or folliculitis (small red bumps around hair follicles)
- Glans: Check for any white or yellowish buildup, redness, or unusual texture
- Shaft skin: Look for pressure marks, chafing, or any areas where skin looks thin or irritated
- Lock pin areas: Metal pins can cause localized pressure spots that develop into small wounds if ignored
Reassembly and lubricating contact points
Before putting the cage back on, apply a thin layer of water-based lubricant to the interior of the base ring. This reduces the friction that causes chafing over the first hours after cleaning, when the skin is freshly washed and slightly more sensitive. Avoid silicone-based lubricants on silicone cages — they degrade the material.
Cleaning by Material Type
The single most common cleaning mistake is using the same method regardless of material. Using isopropyl alcohol on a polycarbonate cage degrades it over months. Boiling a silicone cage causes it to warp. The material determines what is safe — and what will quietly destroy your cage.
| Material | 70% IPA Safe | Can Boil | Dishwasher | Drying Priority |
|---|---|---|---|---|
| Stainless steel | Yes | Yes (cage only) | No (lock) | Medium |
| Polycarbonate / plastic | Never | Never | No | High |
| HolyTrainer resin | Yes | Yes (up to 150°C) | Yes | Low |
| Silicone | No | No (warps) | No | High |
Stainless steel
Steel is the most forgiving material to clean. It tolerates heat, alcohol, and abrasion without degrading. For daily cleaning, soap and water is sufficient. For weekly disinfection, wipe all surfaces with a 70% isopropyl alcohol pad and let air dry.
One caveat: do not boil the lock. Padlocks and integrated locking mechanisms contain springs and internal components that rust or lose tension when boiled. Boil the cage and ring only; clean the lock with IPA instead.
Hard water deposits (white chalky buildup) are common on steel. A five-minute soak in a 50/50 white vinegar and water solution dissolves them completely. Rinse and dry immediately after to prevent the vinegar smell from lingering.
Polycarbonate and ABS plastic
Plastic cages are the most common type, found in CB-6000, Holy Trainer knockoffs, and most budget cage brands. They are also the most commonly damaged by incorrect cleaning.
Isopropyl alcohol causes micro-cracking in polycarbonate over time. The surface looks fine at first, then develops a cloudy, crazed appearance that harbors bacteria in the cracks. Never use IPA, acetone, or solvent-based cleaners on plastic.
Boiling is equally problematic. Polycarbonate softens and warps above 125°C (257°F), and household pots of boiling water reach 100°C — close enough that extended boiling will distort the cage geometry and make it either impossible to assemble or poorly fitting.
The correct protocol for plastic cages: warm (not hot) soapy water soak, toothbrush scrub, thorough rinse, then dry completely. These cages benefit most from diligent drying because their surfaces can develop microscopic scratches where bacteria and fungi anchor.
HolyTrainer resin (Tritan / medical-grade polymer)
HolyTrainer and similar resin cages made from Tritan or medical-grade polymers are the most forgiving to clean. The HolyTrainer is explicitly dishwasher-safe and tolerates temperatures up to 150°C.
For regular cleaning, soap and water works perfectly. For deep disinfection, 70% IPA is safe on resin (unlike polycarbonate). Dishwasher cleaning is convenient for weekly deep cleans — top rack, no heated dry cycle needed. The material does not absorb odors or bacteria the way ABS plastic can.
Silicone
Silicone cages require gentle handling. Mild soap and warm water is the correct approach. Do not use alcohol — it dries out silicone and causes surface degradation over time. Do not boil — silicone softens and can warp.
Silicone is porous at a microscopic level and can harbor bacteria if not cleaned frequently. The porous surface also means odors can embed into the material if cleaning is infrequent. Prioritize daily cleaning for silicone cages, and replace the cage if persistent odor does not resolve with thorough washing.
One silicone-specific issue: silicone is naturally tacky, which means lint, hair, and debris stick to it readily. A thorough rinse before soaping helps dislodge surface debris before you rub it into the material.
Drying: The Step That Actually Matters
Nearly every guide on chastity cage hygiene ends with "pat dry." That instruction is insufficient, and incomplete drying is the root cause of the majority of odor and skin infection problems that wearers experience.
Here is why drying matters more than any other step: the skin under a chastity cage is warm, enclosed, and in contact with a non-breathable (or minimally breathable) surface for extended periods. If any moisture is trapped after cleaning, you have created the ideal environment for Candida (yeast), dermatophytes (the fungi that cause jock itch), and opportunistic bacteria like Corynebacterium — which produces a characteristic musty ammonia odor that no amount of soap removes because the bacteria live deep in moist skin folds.
"Dry thoroughly" is not actionable. Here is an actionable protocol.
Phase 1: Towel or tissue blotting
After rinsing, use a clean towel or several sheets of toilet paper to blot — not rub — all external surfaces of the cage and the skin around it. Pay attention to the ring contact zone, which traps water in the channel between ring and skin. Thread a corner of the tissue through the ring gap and run it around the full circumference.
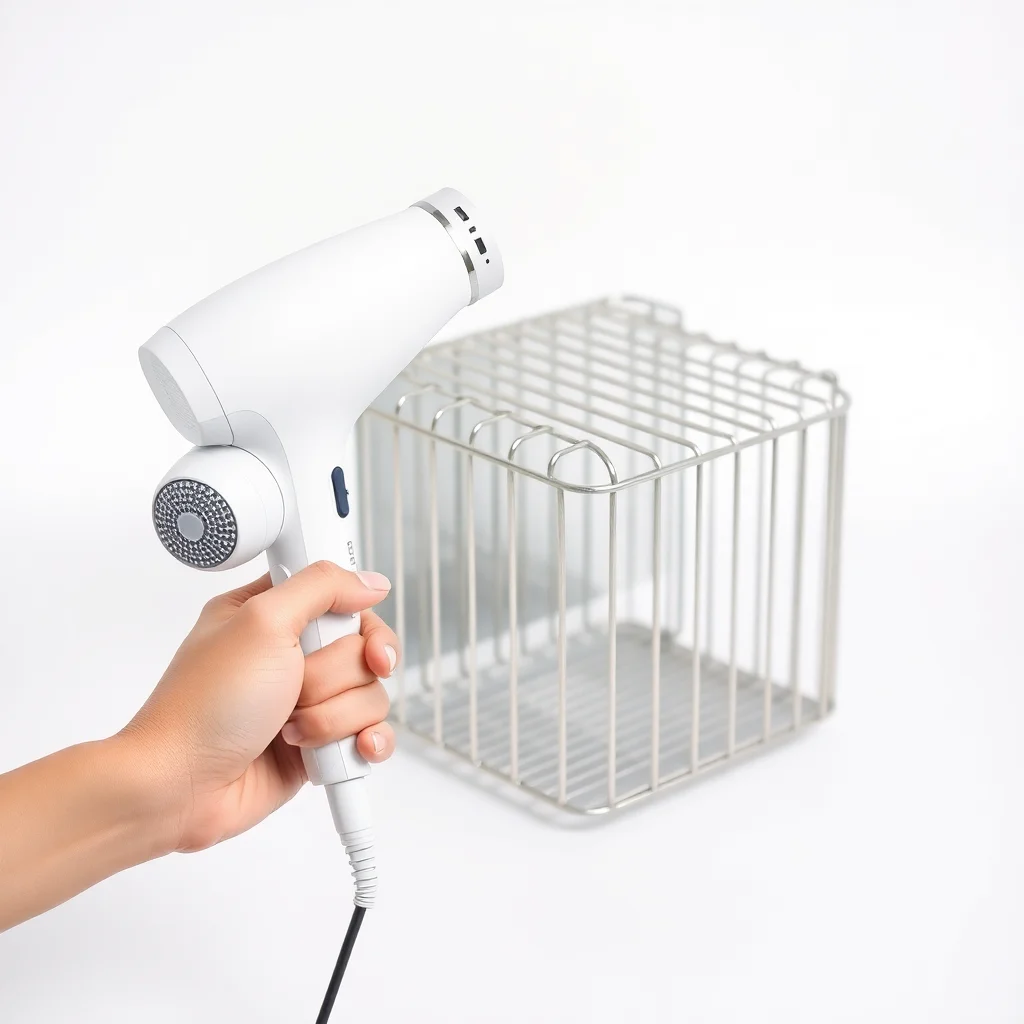
Phase 2: The hairdryer method
This is the step competitors skip, and it makes a measurable difference. Set a hairdryer to its lowest heat setting or cool setting. Hold it 15–20 cm (6–8 inches) from the cage and direct the airflow through the ventilation slots and tip opening for 30 to 60 seconds. Move the nozzle around the base ring to evaporate moisture from the skin contact zone.
You will feel the difference immediately — the area feels genuinely dry rather than damp. This is the moisture that would have been trapped against your skin for the next 12–24 hours.
Phase 3: Air drying before re-caging
After the hairdryer phase, allow five minutes of open-air drying before putting the cage back on. Stand, walk around, or sit without the cage on to allow the skin itself to fully equilibrate to ambient temperature and humidity. The hairdryer step removes surface moisture; air drying removes the last traces from the skin surface and from inside the cage structure.
Antifungal powder: optional but effective
For wearers prone to jock itch or in hot or humid climates, a thin application of antifungal powder after full drying provides an extra layer of protection. Products such as Zeasorb AF (miconazole nitrate) or Lotrimin AF powder (clotrimazole) are appropriate. Apply to the skin — not into the cage — and wait 20 to 30 minutes before reassembling.
Standard cornstarch body powder is a cheaper alternative for moisture absorption without antifungal action. Talc-based powders are not recommended for genital use — the International Agency for Research on Cancer classifies perineal talc use as a possible human carcinogen.
Products to Use and Avoid
The cleaning products you choose matter almost as much as the cleaning process. The genital skin microbiome is sensitive, and using the wrong products disrupts it in ways that make infections more likely, not less.
Soaps: what to use
- Dove Sensitive Skin Unscented — fragrance-free, pH around 7, readily available, genuinely mild
- Aveeno Fragrance-Free Body Wash — oat-based formula, well-tolerated by sensitive skin
- CeraVe Hydrating Cleanser — ceramide-based, pH-balanced, no fragrance
- Vanicream Gentle Body Wash — formulated for sensitive skin, free of common irritants
- Any fragrance-free, pH-balanced liquid soap — the brand matters less than the formulation criteria
Soaps: what to avoid
- Scented soaps and body washes — fragrance compounds are the most common cause of contact dermatitis in the genital area; they serve no cleaning function
- Antibacterial soaps — triclosan and benzalkonium chloride kill beneficial skin bacteria and select for resistant strains; banned in over-the-counter products in many markets but still found in some brands
- Bar soap with moisturizers or exfoliants — leaves waxy residue on cage materials and traps microbeads in cage slots
- Shower gel with "deep clean" or "purifying" claims — these typically use harsher surfactants that strip protective skin oils
- 2-in-1 shampoo-conditioner used as body wash — silicone-based conditioners in these products coat cage materials and are difficult to rinse out completely
Disinfectants
- 70% isopropyl alcohol (IPA) — correct for stainless steel and HolyTrainer resin; do not use on plastic or silicone
- Hydrogen peroxide 3% — safe for steel and resin; not recommended for plastic due to potential oxidative surface effects over time
- Pjur Med Clean Spray — sex toy-specific cleaner; alcohol-free and safe for all materials, but expensive for daily use
- Toy cleaner sprays generally — pH-balanced, material-safe, but overkill for daily cleaning; appropriate for weekly deep clean
Products to absolutely avoid
- Bleach or bleach-based cleaners — will corrode steel over time, degrade plastic and silicone immediately, and cause severe chemical burns to skin if not completely rinsed
- Acetone or nail polish remover — destroys plastic and silicone on contact; do not use near cage components
- Mouthwash as a cage cleaner — a surprisingly common recommendation on forums; the alcohol content is too low to disinfect and the menthol causes significant skin irritation
- Baby wipes for daily cleaning — useful for between-shower touch-ups only; the moisturizers and preservatives in wipes build up on cage surfaces and become a bacterial substrate
- Vinegar as a regular disinfectant — useful for dissolving mineral deposits on steel only; acetic acid at household concentrations is not a reliable disinfectant and the acidity causes irritation on skin contact zones
Preventing Infections: What Actually Goes Wrong
Understanding the specific conditions that develop from poor cage hygiene helps you recognize them early and respond appropriately. Most wearers who develop infections do not recognize what they are dealing with until the problem is well-established. Here is what to watch for.
Intertrigo (skin-to-skin friction dermatitis)
Intertrigo develops where the cage contacts skin and moisture is trapped — primarily the base ring contact zone and the underside of the glans against the cage tip. It looks like a red, raw, sometimes weeping rash. It is not an infection initially; it is inflammation from sustained moisture and friction. Left untreated, it becomes secondarily infected with bacteria or Candida.
Treatment: cage removal, thorough drying of the area multiple times per day, zinc oxide barrier cream applied to affected skin, and keeping the area dry. Most intertrigo resolves within three to five days of consistent treatment without the cage.
Jock itch (tinea cruris)
Tinea cruris is a dermatophyte fungal infection — the same organism responsible for athlete's foot. It thrives in warm, moist environments. Under a poorly-cleaned cage, it can establish within a week of continuous wear. It presents as a red, itchy, scaly rash with a defined raised border, typically starting at the groin creases.
Over-the-counter antifungal creams (clotrimazole 1%, miconazole 2%, terbinafine 1%) are effective when applied consistently for the full recommended duration — usually two to four weeks. Do not stop treatment when symptoms improve; the fungal infection is not eliminated until the full course is complete.
Bacterial infection from urine accumulation
Urine contains urea, which bacteria convert to ammonia. In a cage, urine droplets pool in the cage tip and at the base ring seal. Over days of accumulated urine residue, bacterial populations grow to the point of causing folliculitis (infected hair follicles), cellulitis in the scrotal skin, or in severe cases, soft tissue infection.
The early sign is persistent odor despite cleaning, accompanied by small red bumps at hair follicles in the base ring area. This responds to daily cleaning discipline; established folliculitis may require topical or oral antibiotics.
Candida (yeast) overgrowth
Candida albicans colonizes warm, moist skin folds. Under a cage, it manifests as intense itching, a rash with satellite lesions (small red spots beyond the main rash border), and sometimes a white, curdy discharge at the cage tip. This is distinct from jock itch in that it responds to antifungal agents but not to antibiotics — and vice versa.
Clotrimazole or miconazole treat both tinea and Candida, which is convenient when the diagnosis is uncertain. If a rash does not respond to two weeks of antifungal treatment, a medical assessment is warranted.
Common Cleaning Mistakes
Across years of product testing and monitoring feedback on forums like r/chastity and r/chastitytraining, the same cleaning errors come up repeatedly. Knowing them prevents them.
Mistake 1: Incomplete drying (the most common, most impactful)
This is addressed in depth above. The short version: patting the outside dry while leaving moisture against the skin inside the ring zone and within the cage is standard practice for most wearers, and it is the root cause of most hygiene problems. Adopt the three-phase drying protocol. It adds five minutes but prevents hours of medical appointment time.
Mistake 2: Using isopropyl alcohol on plastic or polycarbonate cages
The most common disinfection error. Polycarbonate micro-cracks are invisible at first, create surface texture that traps bacteria, and eventually cause the cage to fail structurally at the most inopportune moment. If your cage is plastic or polycarbonate, warm soapy water is your disinfection protocol. No exceptions.
Mistake 3: Scented or antibacterial soap
Fragranced soaps smell clean, which is why people reach for them. But fragrance compounds are contact allergens on genital skin, and the antibacterial agents in antibacterial soap select for resistant bacteria over weeks of use. Both seem fine in the short term; both cause problems with sustained use. Switch to fragrance-free.
Mistake 4: Skipping visual skin inspection during weekly removal
Weekly removal is a hygiene step, not just a cleaning opportunity. The inspection itself takes 90 seconds and catches early-stage skin issues — folliculitis, ring pressure wounds, early chafing — before they escalate. Wearers who skip inspection consistently discover problems at a more advanced stage.
Mistake 5: Applying antifungal powder to damp skin
Powder plus moisture equals paste. Paste against skin occludes pores, creates a physical barrier that traps more moisture, and can cause chemical irritation from the active antifungal compound. Dry completely — including the hairdryer phase — before applying any powder.
Mistake 6: Cleaning the cage but not the ring
The base ring has a circular groove — the inner circumference in contact with skin — that collects more debris than the cage itself. It is easy to focus cleaning attention on the visible cage and give the ring a cursory rinse. Invert the ring and scrub the inner contact surface with a toothbrush weekly.
Mistake 7: Infrequent removal combined with inadequate daily cleaning
Some wearers compensate for infrequent weekly removal by cleaning more carefully in the shower daily. This is better than nothing but does not replace full removal. Parts of the cage interior and the base ring contact zone cannot be cleaned effectively without disassembly. If your schedule or arrangement limits removal frequency, prioritize daily cleaning discipline and accept that hygiene will be marginally reduced until full removal is possible.
Can I shower with my chastity cage on?
Yes, and daily showers with the cage on are the foundation of good hygiene. Use liquid soap — bar soap leaves waxy residue in cage slots. Rinse thoroughly, and follow with the drying protocol above.
How often should I do a full removal and deep clean?
Minimum once per week for standard wear. Every three to four days for 24/7 wearers. Daily deep cleaning is unnecessary and disrupts skin oil balance; weekly is the practical minimum that prevents biofilm accumulation. Not sure how long you should be wearing between removals? See our safe wear duration guide.
Why does my chastity cage still smell after cleaning?
Almost always incomplete drying. The smell is produced by bacteria that thrive in the damp microenvironment between cage and skin. Thorough drying — including the low-heat hairdryer step — eliminates the moisture that sustains those bacteria. If the smell persists after two weeks of proper drying protocol, check for early-stage infection.
Is 70% isopropyl alcohol safe for all cage materials?
Only for stainless steel and HolyTrainer-style resin cages. Never use 70% IPA on polycarbonate, ABS plastic, or silicone. It causes micro-cracking in polycarbonate, can cloud and degrade ABS plastic, and dries out and degrades silicone over time.
What is the hairdryer trick and does it actually help?
After towel-drying, use a hairdryer on the lowest (cool or warm) setting from 15–20 cm distance for 30–60 seconds. Direct airflow through cage slots and around the ring. It removes residual moisture that towel drying cannot reach inside the cage structure. The difference is noticeable: the area feels genuinely dry rather than damp. It takes under a minute and reduces the primary driver of odor and infection risk.
When should I see a doctor about a cage-related skin issue?
See a doctor for: persistent itching or burning not resolved by 48 hours of removal and cleaning; any rash that spreads or does not improve with OTC antifungal treatment after one week; discharge other than normal fluid; skin that opens or breaks down; and immediately for any blue, purple, or white discoloration (circulation), significant swelling preventing cage removal, or fever with genital redness.
References
- [1]Jock itch (Tinea cruris): clinical features, diagnosis and treatment. Mayo Clinic, 2024. — mayoclinic.org
- [2]Intertrigo: overview and management. American Academy of Dermatology, 2023. — aad.org
- [3]Triclosan and antimicrobial resistance: a review of the evidence. Journal of Antimicrobial Chemotherapy, 71(10), 2705–2715 (2016). — Oxford Academic
- [4]Bisphenol A (BPA) and polycarbonate plastics: health and exposure assessment. National Institute of Environmental Health Sciences. — niehs.nih.gov
- [5]Talc: IARC Monographs on the Identification of Carcinogenic Hazards to Humans. Volume 93. International Agency for Research on Cancer, 2010. — IARC
- [6]Candida infections: pathogenesis and antifungal therapy. Clinical Microbiology Reviews, 34(1), 2021. — ASM Journals
Frequently Asked Questions
Yes, and daily showers with the cage on are the foundation of good hygiene. Use liquid soap — bar soap leaves waxy residue in cage slots. Rinse thoroughly, and follow with a complete drying protocol including low-heat airflow through the cage slots.
Minimum once per week for standard wear. Every three to four days for 24/7 wearers. Weekly full-removal cleaning reaches areas the shower routine cannot — base ring interior, lock pin zones, and cage seams where biofilm accumulates.
Almost always incomplete drying. The odor is produced by bacteria that thrive in the damp microenvironment between cage and skin. Thorough drying — including a low-heat hairdryer step for 30–60 seconds — eliminates the moisture that sustains those bacteria.
Only for stainless steel and HolyTrainer-style resin cages. Never use IPA on polycarbonate, ABS plastic, or silicone. It causes micro-cracking in polycarbonate and degrades silicone over time.
After towel-drying, use a hairdryer on the lowest (cool or warm) setting from 15–20 cm distance for 30–60 seconds. Direct airflow through cage slots and around the base ring. It removes residual moisture towel drying cannot reach, eliminating the primary driver of odor and infection risk.
See a doctor for persistent itching or burning not resolved by 48 hours of removal; any rash not improving with OTC antifungal treatment after one week; unusual discharge; skin breakdown; and immediately for blue, purple, or white discoloration, significant swelling preventing cage removal, or fever with genital redness.
About the Author

Alex Devereaux is a sexual wellness educator with over 8 years of experience reviewing intimate products. Their writing combines hands-on product testing with research-backed guidance to help readers make informed choices.
Certified Sexual Health EducatorRelated Guides
Chastity Cage Beginner's Guide: Buy, Size & Wear Safely [2026]
8 years testing 40+ cages distilled into one guide: sizing steps, 14-day break-in schedule, duration guide for beginners to experienced couples, budget picks from $30.
How to Measure for a Chastity Cage (3 Steps) [2026]
47% of buyers get the wrong size. This 10-minute 3-step method prevents painful mistakes. Ring size chart, cage size table, and free interactive calculator.
Metal vs Silicone vs Resin: Chastity Cage Materials Guide
Expert comparison of chastity cage materials including stainless steel, medical-grade silicone, resin, and plastic. Learn which material suits your needs for comfort, security, and hygiene.
Not Sure Which Cage Is Right for You?
Take our 60-second quiz to get personalized cage recommendations based on your experience level, budget, and preferences.
Take the Quiz